Quick Start Guide
Connect your site and go live in a few minutes
Written By David
Last updated 24 days ago
This is the fastest path from signing up to seeing results. The whole setup takes a few minutes, and the first step, connecting Google Search Console, is the foundation for everything else.
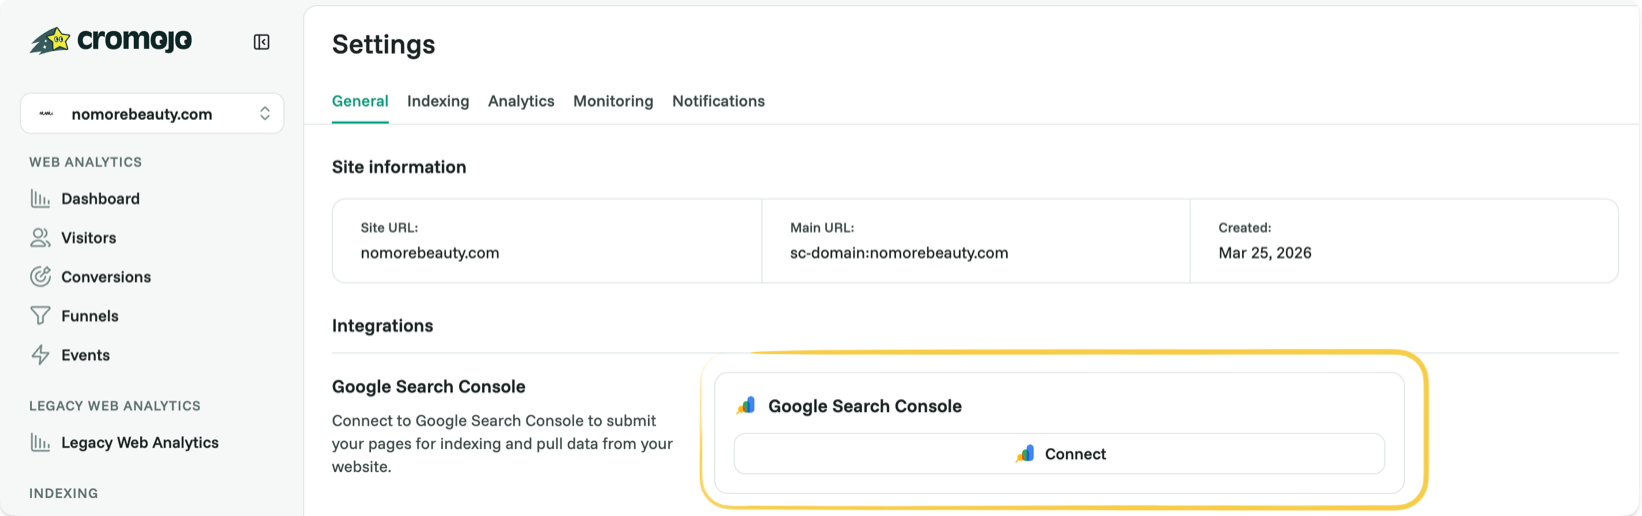
Step 1: Connect Google Search Console
When you first set up your site, Cromojo asks you to connect your Google account. Use the main account that owns your site in Google Search Console (GSC). This is what lets Cromojo see your pages and submit them for indexing.
Step 2: Enable your site
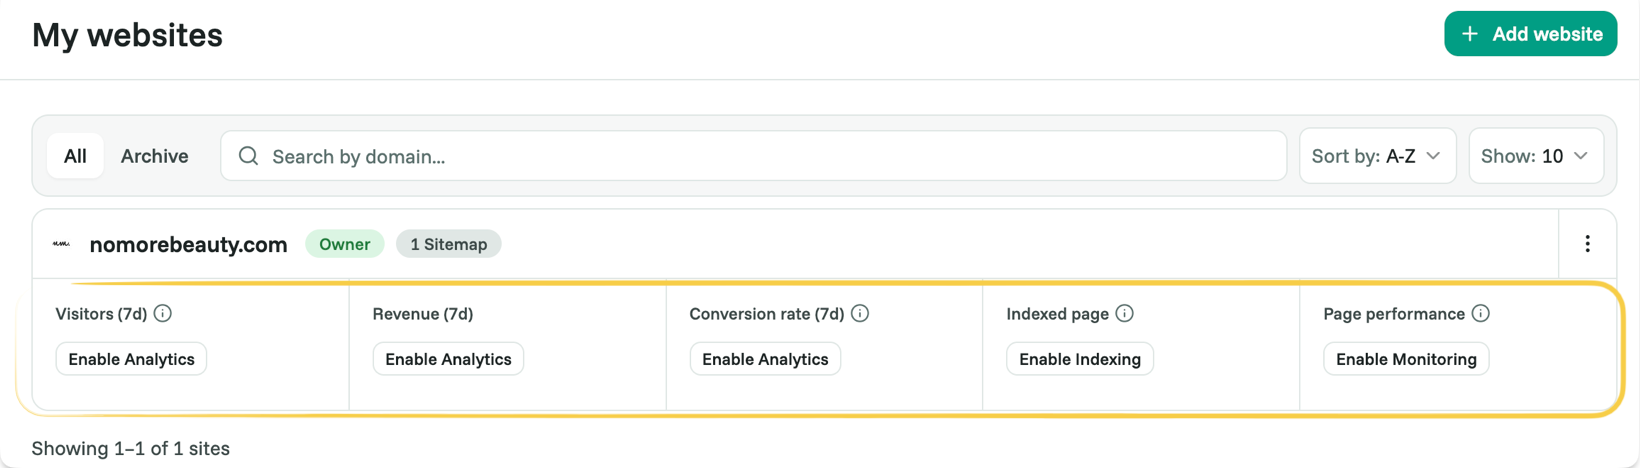
After connecting, the sites on that GSC account appear in your Sites dashboard. Enable the site you want Cromojo to work on. For indexing, you’ll also attach the service-worker emails Cromojo provides (instructions are in the pop-up) and click Check Status to confirm they’re active.
Step 3: Turn on indexing
With your site enabled, Cromojo can submit your pages to Google. We recommend Auto-Indexing for most sites — it runs on its own. See Google Indexing for the details.
Step 4: (Optional) Add Bing, Monitoring, and Analytics
Bing, add Bing Webmaster Tools to reach Bing too. (See Bing Indexing.)
Monitoring, turn on uptime, SSL, and page-health checks. (See Our New Monitoring Features.)
Web Analytics, paste one small script to start measuring traffic, conversions, and funnels. (See Installing Your Analytics Tracking Script.)